


Joe Grant, Principal Architect
After implementing concepts from parts 1 and 2 of this series, you should have a running OpenLDAP directory with the imported data from the Oracle Internet Directory database. Your next steps are to install Oracle WebLogic Server and to configure a domain and admin server. In this post, I will focus on configuring a new authentication provider, with the assumption that the WLS software installation has been completed.
With that in mind, there are two main steps left to complete. First you will need to create the new provider and then configure it to connect to the OpenLDAP directory.
Adding the Provider
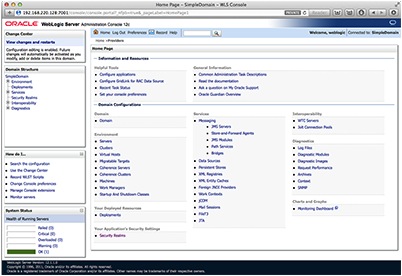
Log into the admin console for the domain and then select the “Security Realms” link under the Domain Structure heading.
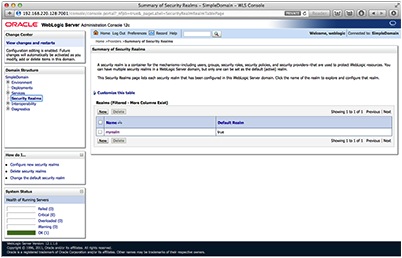
In this example, we will keep things simple and use the default realm of “myrealm”. Select the link my realm.
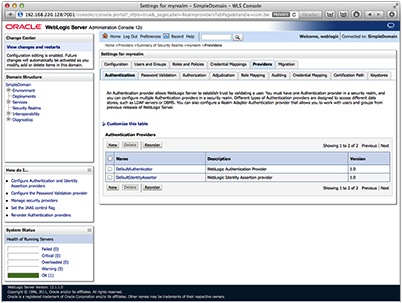
Select the Providers tab and then click the new button to create the new provider. You may have to hit the lock and edit button to make the configuration change.
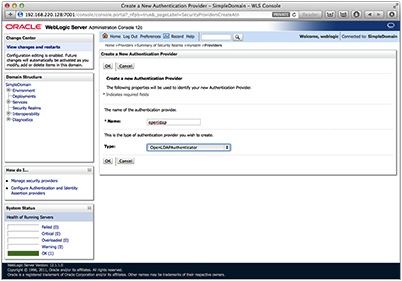
Give the new provider a name and under the type menu select OpenLDAPAuthenticator. Then click OK.
Select the reorder button to reorder the providers so that the OpenLDAP provider is listed first.

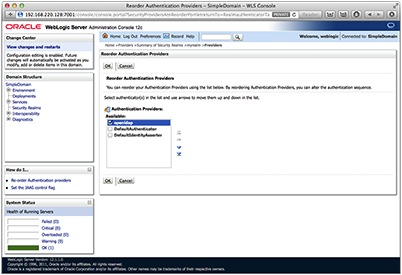

Configuring the Provider
Now that the provider exists, it is time to configure it to point at the OpenLDAP directory. Click on the Providers tab then select the OpenLDAP provider that was just created from the list.
Once you have chosen the provider, select the Provider Specific tab to find the configuration options. There are more options than would fit in the screen shot, so you will have to scroll down to see to them all.
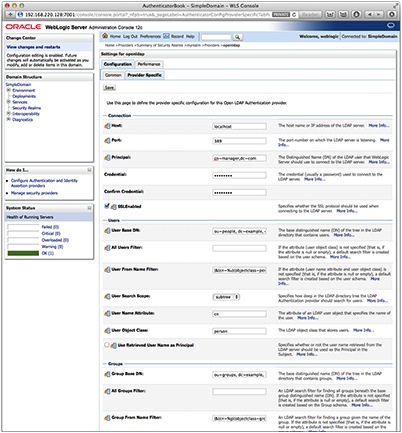
At a minimum, you will need to update the following options.
Host: This is the host name of the OpenLDAP server. It does not have to be a FQDN, depending on how you have name resolution configured on the WLS host.
Principal: This is the DIT Manager that was created with the directory. It is not required to be the DIT Manager, but I have found that it simplifies things quite a bit. It can be any user who has read and write access to the branch of the tree that you want to start from.
Credential/Confirm Credential: You will need to supply the Principal’s password.
Here are some other options that you will most likely want to update:
Port: These blog posts did not cover SSL communication, but if you have configured it, the OpenLDAP directory is likely listening on 636.
SSLEnabled: Select this if SSL has been configured.
User Base DN: This is the DN of the entry in the tree you want to begin looking for users in. The entry you use here will depend on the structure of your directory.
User From Name Filter: The subject of LDAP filters could fill several more articles. It is also very dependent on the structure of your directory. My only advice here is to try to keep it as simple as you can.
User Name Attribute: You do not have to use CN for your user entries. This is another thing that is dependent on your directory. During your import, you will want to make sure that all users use a common name attribute. The UID attribute may also be appropriate here.
Group Base DN: This is the beginning point for your groups. It is similar to User Base DN.
Group From Name Filter: Similar to User From Name Filter, but just for groups.
In this series of posts, I have run through the OS installation for the OpenLDAP and WLS servers and the configuration of SLAPD for the OpenLDAP server, detailed the data migration between the directory servers and discussed configuring a new authentication provider.
By now you should have a better understanding of whether OpenLDAP is right for your environment. While it may not be for everyone, if you have the right set of circumstances, using an OpenLDAP directory instead of OID may help to reduce complexity and costs.